How to Make a Minecraft Skin
If you’re wondering how to make a Minecraft skin, you’re in the right place. It’s fun to play as an Enderman in a Suit, Sonic the Hedgehog, Darth Vader, an MLB player, Steve, or something else, but it’s also cool to design one’s own skin. It makes it pretty much unique and the possibilities are almost endless. If that’s your goal, we’ve got you covered.
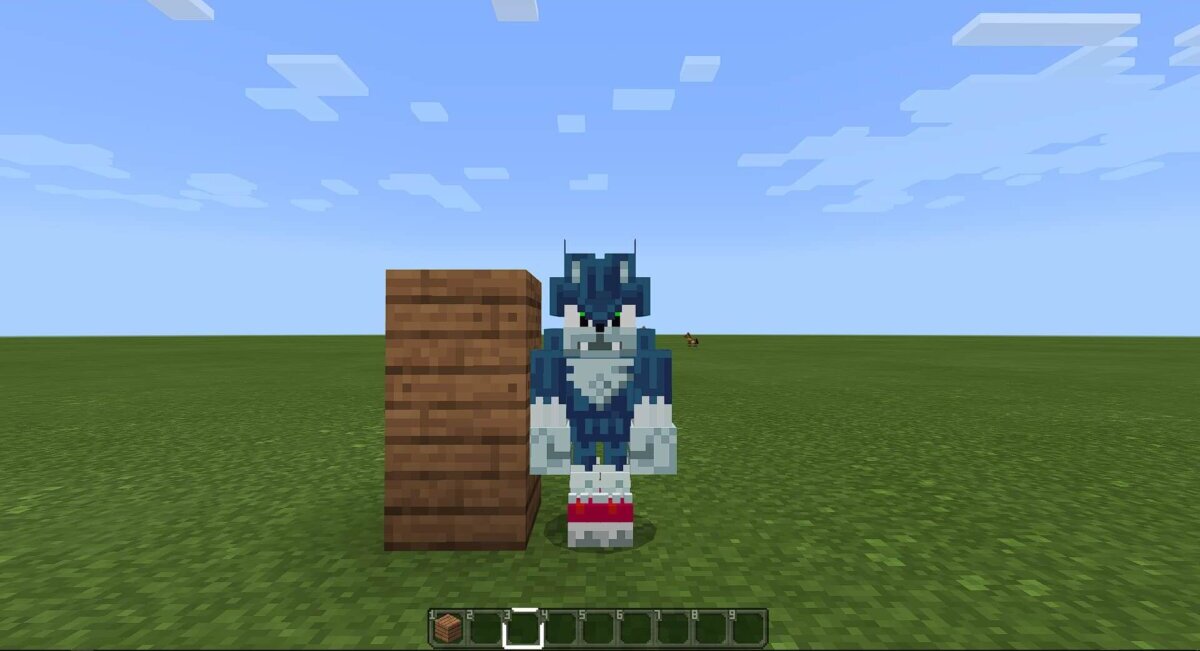
Image Credits: The Hive Forum
How to Make a Minecraft Skin
There are different places that allow Minecraft players to make their own skins. One great resource is the Minecraft Skin Editor. This resource allows you to do one of two things: either start from scratch or edit an existing design. If you thought a skin was pretty good but wanted to tweak it, you could. You can also start from nothing and create something totally original. To do that, follow these steps:
- Head to the website.
- Start by selecting a color.
- Fill in all the regions of the skin that you want that color to be.
- Change the color if necessary and do the same thing again until all the colored areas of the skin are done.
- Click over to the outer layer on the right side of the screen.
- Edit the same way, changing colors and filling in each block that you want to.
- After you’re done, you can save the skin.
- Download the skin and open it to use in Minecraft.
This newly created skin can be uploaded to the Skindex, which is ultimately a huge database of player-created skins for the game. There are tons of options in there, and you can add the one you just made if you want. Otherwise, it can be kept private and used only on your own playthroughs. Lastly, it’s worth noting that this is for a computer version of Minecraft (which is primarily Java Edition). Sadly, you can’t upload a computer file to an Xbox, for example.