How to install EmuDeck on Steam Deck
Since its launch in February 2022, Steam Deck has sold 10 million units. The highly portable device features pretty much all the games that are in your Steam library and installs applications such as Discord or Spotify, making it an instant hit with gamers everywhere. EmuDeck can also be used as an emulation machine.
It allows users to check games from old consoles, including PlayStation 2, PlayStation 1, Nintendo Switch, Nintendo DS, Nintendo 3DS, NES/SNES, GameBoy, GameCube & Wii.
If this sounds right up your alley, we’ve got you covered. We’re going to show you how to install EmuDeck on Steam Deck, so you can get back to playing classic titles from older platforms.

Source: EmuDeck / Steam Deck
Requirements to install EmuDeck on Steam Deck
- An active internet connection: It is essential to have an internet connection to download and install EmuDeck on Steam Deck.
- Keyboard: A keyboard is an optional accessory that you need to install EmuDeck on Steam Deck, as it makes downloading non-gaming apps easier. The keyboard makes it easier to type in the browser and navigate through many apps on display. But a keyboard is not a mandatory requirement, as you can hold the Steam key and press X simultaneously to bring up an on-screen keyboard.
How to install EmuDeck on Steam Deck:
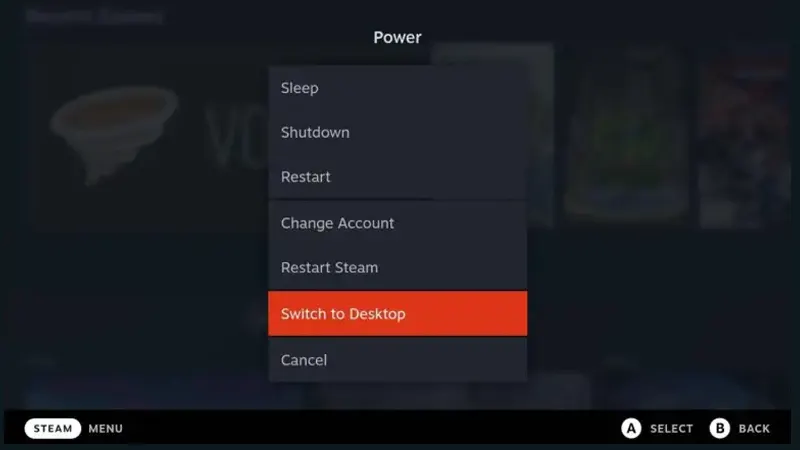
1. Switch to Desktop Mode
The first step to installing EmuDeck on Steam Deck is to switch to desktop mode. You can switch the mode by following the given instructions:
- Firstly, you must press the Steam button and scroll down to power. You can then switch to Desktop Mode.
- Alternatively, you can open this menu by holding the power button.
2. Download EmuDeck
The second step is to navigate to the EmuDeck website on your Steam Deck. You can follow the following steps to do that:
- First, type emudeck.com in your browser or look for EmuDeck in Google Search.
- Click on the download option at the top.
- Click the download installer option as your third and final step.
The download completes within seconds as it is a small file.
3. Install
You need to follow these steps to install EmuDeck after downloading it to your device:
- Move or drag the downloaded EmuDeck file to the desktop
- Double-click the file to execute it
- Wait until the process finishes
- Once the process finishes, you will see the EmuDeck installer option. Choose custom install.
Source: EmuDeck
4. Configure the options
After the installation, you need to configure the options per your requirements. It can be quite time-consuming and includes the following options:
- What emulators to get
- Where to install EmuDeck on Steam Deck
- Which emulators will be pre-configured
- Selecting the aspect ratio
- Screen Flicker
Source: EmuDeck
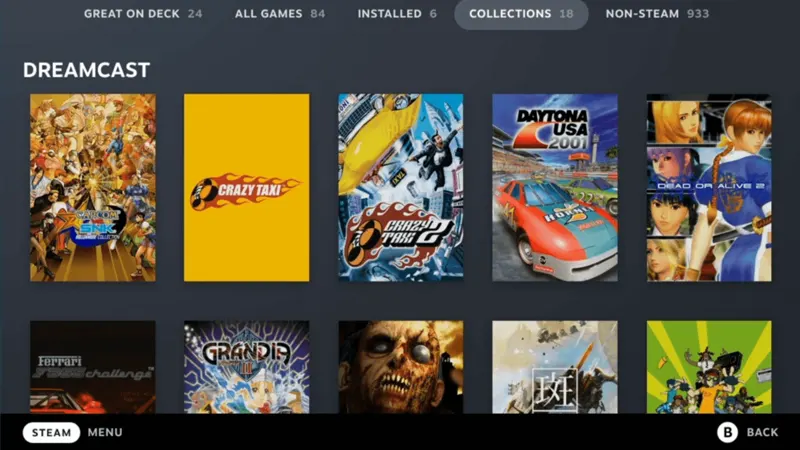
5. Add your games
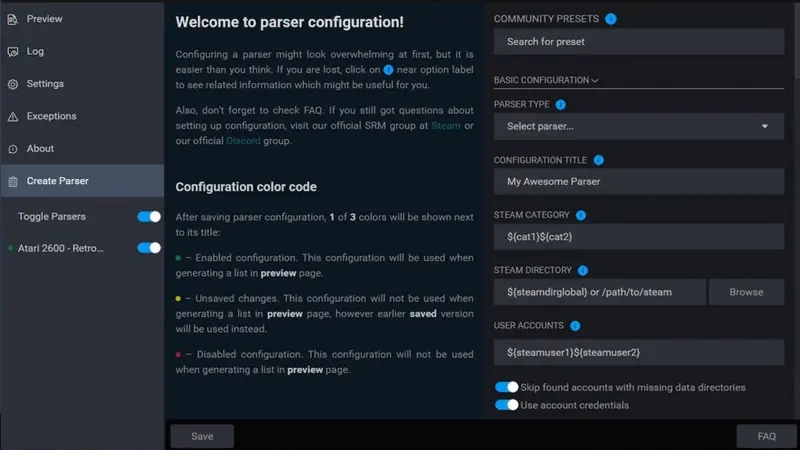
Once the configuration process is complete, the final step for how to install EmuDeck on Steam Deck is to add your games. You can add the games to the Steam library for easy access. For that, you need to go through the Steam Rom Manager.
- Launch Steam Rom Manager. You can find it in the games section of the installed apps
- Click on the preview option
- Click on the Generate app list on the bottom left
- Click on the Save App list to complete the process and return to gaming mode.
If you run into any trouble, EmuDeck also has a great support and FAQ section on its own page that will help you set up your ROMs properly.
Read next: How to enable Performance Overlay on Steam Deck