2XKO Warwick Combos, Move List, Team Comps & More

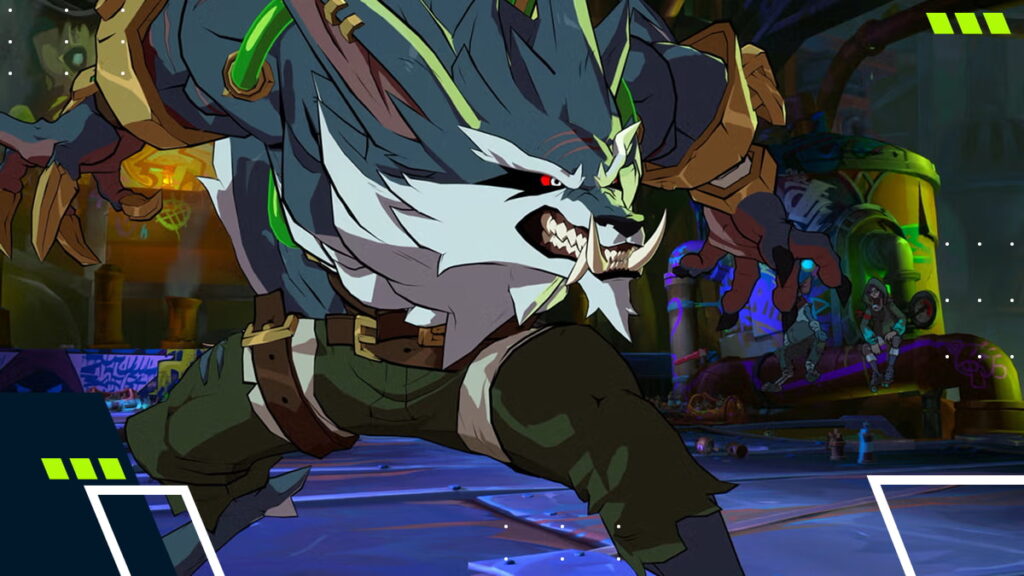
Warwick has reemerged as a star in the League of Legends spinoff. After falling to the wayside following his rework, the Uncaged Wrath of Zaun found himself at the heart of the hit Netflix series Arcane—and more recently, as the latest character introduced to the 2XKO character roster.
In this guide, we’ll share the best Warwick 2XKO combos and team comps to utterly obliterate your opponents in your matches.
- 1. High Damage 2XKO Warwick Combos
- Basic Warwick Combo in 2XKO
- Medium Difficulty Warwick Combo
- Advanced Warwick 2XKO Combo
- 2. Best Warwick Duo In 2XKO
- 3. How to Win With Warwick in 2XKO
- 4. 2XKO Warwick Moves List: All Abilities and Input Commands
- Warwick Unique Moves 2XKO
- Warwick Specials 2XKO
- Warwick Supers 2XKO
- Warwick Ultimate 2XKO
- 5. FAQs
- 6. References
High Damage 2XKO Warwick Combos
Warwick is a dangerous character to face in 2XKO, largely because his passive fundamentally changes how he fights. Bloodlust doesn’t merely enhance his kit, but unlocks an entirely new moveset you must constantly account for on top of his standard abilities. But how do you combo them?
In the next sections, we’ll break down a 2XKO Warwick combo from YouTuber Dayrus P that deals 700+ damage. It is undoubtedly one of the highest-damaging combos in the game (it hits harder than combos of Teemo, Ahri, Jinx, and Yasuo), guaranteeing you an edge over your competitors.
Basic Warwick Combo in 2XKO
Warwick is a character who benefits from his opponent being airborne. The combo begins with Medium → Heavy → Down + S1 (hold) → Medium, ending with the enemy bouncing off the floor. You’ll notice that the upfront damage is quite impressive, dealing 254 damage, which is a lot for only four hits.
This starter Warwick combo in 2XKO will help you get used to hitting multiple attacks quickly. Once you get the hang of it, you can move on to the more complex moves.
Medium Difficulty Warwick Combo
After nailing down the basic combo, you should have the skills to knock your opponent airborne. From there, you’re going to add two more moves. Begin with a Medium, followed by a Down + Medium → Heavy, and another Down + Heavy.
You want to initiate this combo once your opponent is falling in line with Warwick’s mouth. Then, follow up with a Jump + Medium → Heavy → S1 and lastly a Forward + S2.
To execute it successfully, you must jump before pressing the medium attack. This will end with Warwick’s opponents on the ground, which is where you will finish with the Forward + S2.
After pairing it with the starter 2XKO Warwick combo, the total damage you’ll deal should be roughly 430. At this point, you’re already at 15 hits with this sequence—and would have erased your opponent’s health bar by at least 50%. Here is the full combo so far:
- Medium
- Heavy
- Down + S1 (hold)
- Medium
- Medium
- Down + Medium
- Heavy
- Down + Heavy
- Jump + Medium
- Heavy
- S1
- Forward + S2
Advanced Warwick 2XKO Combo
The final stage of the 2XKO Warwick combo is where you will do the most damage, as it ends with Warwick’s ultimate, Blood Hunt. To execute it, you need to combine what we showcased earlier; only now, you will add the final stages. Think of it as putting the icing on top of the cake.
To start the last part of this combo, initiate with S2 + S2 + S2 (three S2s in a row). It’s important to note that you must time these properly. Warwick’s S2 attack is a two-punch combo, so if you spam the move, you won’t achieve the maximum damage as you’re doing three fewer hits.
To make the combo work, you need to start the sequence after your opponent is in the air from the Forward + S2. As mentioned, the combo is rounded out by Warwick’s ultimate by pressing the S1 + S2 buttons. If you do it right, you’ll do a whopping 737 damage in only 20 hits.
Best Warwick Duo In 2XKO
Warwick isn’t just a character designed for solo play. Here are a few excellent duo partners for the Uncaged Wrath of Zaun in 2XKO:
Ekko is probably the best pairing for Warwick in 2XKO. Together, they have a great combination of range and gap-closing. While Ekko can play from afar, Warwick is a rushdown character, meaning he enjoys getting in your face and scrapping. This is why the two work so well together.
Since Ekko’s abilities force enemies out of position, Warwick can easily close the space that Ekko has created. In 2XKO, you want teams that have complementary movesets to function properly. You can feel when it’s clunky. And this simply isn’t the case with Warwick and Ekko.
And here’s the kicker: even if you mess up with Ekko, you can always reset back to your previous position.
How to Win With Warwick in 2XKO
Warwick is one of the heaviest hitters in 2XKO, but his damage is only met when you’re aggressive. That means you have to set the tone of the fight by closing any gap and building up his Bloodlust. It’s only then that you’ll start to hit hard, because you unlock those extra high-damage abilities.
Most newer players are caught out by his S2. It’s a two-punch move, similar to Sett’s basic auto attacks in League of Legends. You have to let the second punch hit before doing your next attack. When you get your ultimate, you will have Bloodlust immediately available, so don’t be scared to burn through it.
2XKO Warwick Moves List: All Abilities and Input Commands
Warwick Unique Moves 2XKO
| Move | Input | Notes |
|---|---|---|
| Aerial Primal Vault | ↑ + Bloodlust Only, Air Only | — |
| Ankle Swipe | ↘ + H | – |
Warwick Specials 2XKO
| Move | Input | Notes |
|---|---|---|
| Rage of the Beast | → + H1 (Hold ok) | — |
| Wrath of the Beast | → + S1 Bloodlust Only | — |
| Bloodlust | (Passive) | — |
| Claws of the Beast | S1 (Hold ok) | — |
| Primal Leap Cancel | ↑ During Claws of the Beast or Rage of the Beast | Follow-up of Claws of the Beast |
| Primal Leap | ↓ + S1 (Hold ok) | Follow-up of Claws of the Beast |
| Pursuit | L (Air only) | Follow-up of Claws of the Beast |
| Tear | M (Air only) | Follow-up of Claws of the Beast |
| Snare | H (Air only) | Follow-up of Claws of the Beast |
| Feral Fang | S1 (Air only) | — |
| Feral Bite | → + S2 Can Hit Off The Ground | — |
| Spinning Slicer | S2 (Air only) | Press repeatedly |
| Blood Seeker | ↓ + S2 | — |
| Savage Slashes | S2 | Press repeatedly |
| Primal Climb | ← Near Corner | — |
| Climb Pursuit | L (Air Only) | Follow-up of Primal Climb |
| Descend | ↓ (Air Only) | Follow-up of Primal Climb |
| Leap | → (Air Only) | Follow-up of Primal Climb |
| Climb Rend | M (Air Only) | Follow-up of Primal Climb |
| Climb Snare | H (Air Only) | Follow-up of Primal Climb |
| Feral Feast | → + S2 Bloodlust Only, Can Hit Off the Ground | Follow-up of Primal Climb |
Warwick Supers 2XKO
| Move | Input | Notes |
|---|---|---|
| No Escape | S2 + (L OR M OR H) | 1 Ultimate Meter Cost |
| Infinite Duress | S1 + (L OR M OR H) Air Ok | 1 Ultimate Meter Cost |
Warwick Ultimate 2XKO
| Move | Input | Notes |
|---|---|---|
| Blood Hunt | S1 + S2 Can Hit Off the Ground | 3 Ultimate Meter Cost |
FAQs
What makes Warwick strong in 2XKO?
Warwick’s strength in 2XKO comes from his Bloodlust passive, which unlocks additional moves and dramatically increases his damage potential. Once Bloodlust is active, he gains access to high-pressure rushdown tools that make him terrifying up close.
How do I build Bloodlust quickly with Warwick?
You build Bloodlust by staying aggressive. This means closing gaps, landing hits, and maintaining pressure. Warwick thrives when he’s in your face, so the more consistently you engage, the faster your passive becomes available.
Is Warwick beginner-friendly in 2XKO?
Yes and no. His core buttons are relatively straightforward, but maximizing his damage requires proper S2 timing, air-juggle awareness, and managing Bloodlust triggers. He’s easy to pick up, but rewards mastery heavily.
Which characters synergize best with Warwick in team comps?
Warwick pairs best with 2XKO characters who control space or reset tempo, such as Ekko. Ranged poke, displacement, and zoning tools create openings for Warwick to dive in and start his rushdown combos safely.
How do I counter Warwick in 2XKO?
The key is denying his approach. Zone him, force him to whiff, and reset distance often. In 2XKO, Warwick’s biggest weakness is being kept at arm’s length, as he loses most of his threat without access to close-range pressure and Bloodlust follow-ups.