The CS2 skins community is more active than ever. There’s something eternally cool about buying your favorite skin, and adorning it with numerous expensive stickers to use in-game. But sometimes, before you commit to the purchase, you want to inspect CS2 skins and sticker crafts to see how they’ll look first. These can be expensive purchases, so it makes sense.
We’ve got the full guide on how to inspect CS2 skins and sticker crafts right here!
Inspect CS2 skins on Steam
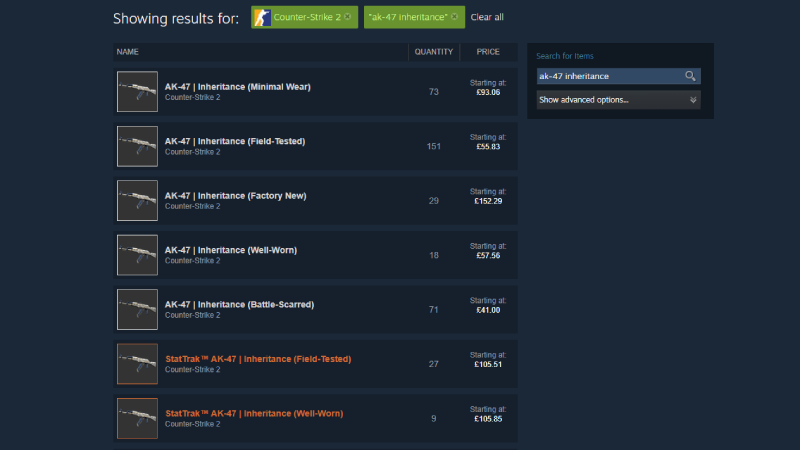
To inspect CS2 skins with no stickers, you need to begin on the Steam Marketplace. Simply type in the skin you want to buy, and press on the correct listing, whether that be StatTrak or a specific CS2 item wear rating/float.

When you’re on the correct item, hit the large button that says “Inspect in Game.” If you have CS2 launched, this will instantly take you to the skins inspect menu in-game. If you don’t, it’ll load up the game for you and take you to the correct screen. Either way, it’ll get you to where you need to be.

It really is that simple to inspect CS2 skins! It’s worth mentioning that if the skin you’ve chosen to inspect from the marketplace has stickers on it, you’ll see the stickers in-game, too. Now, let’s move on to how to test sticker crafts in CS2.
How to test sticker crafts in CS2
To test sticker crafts in CS2, you don’t have to spend a ton of money. You need to use a custom CS2 inspect server, as well as a sticker craft site. We’ve got what we believe are the best for both. First of all, you need to head to the CS2 sticker crafts site. The best out there right now is CS2inspects.com. Once you’re there, you’ll be met with a menu that should look something like this:

Now, you need to select the CS2 skin and stickers you want to inspect, just like we have above. You can then hit the “Customize Stickers” button to change the placement, which became possible in a recent CS2 update. This customization screen will look like this:

Then, you drag your CS2 stickers wherever you want them to appear in-game. If you want to inspect a more meticulous CS2 sticker craft, you may need to take some time to layer them properly. You can even add CS2 charms to the skin if you want to go one step further. Once you’re finished, copy the gen code for the CS2 sticker craft – this is the long string of numbers beginning with “!g” at the bottom of the screen.
So, how do you actually inspect this CS2 sticker craft in-game? Well, it’s now time to join an inspect server. For this, we recommend Epidemic’s servers. These seem to work the best in our experience, so copy one of these IPs into your CS2 console to connect:
CS2 Sticker Craft Server IPs
- connect inferno.epidemic.gg
- connect nuke.epidemic.gg
- connect dust2.epidemic.gg
- connect vertigo.epidemic.gg
- connect mirage.epidemic.gg
- connect siege.epidemic.gg
- connect biome.epidemic.gg
- connect thera.epidemic.gg
- connect overpass.epidemic.gg
- connect ancient.epidemic.gg
- connect italy.epidemic.gg
- connect office.epidemic.gg
- connect anubis.epidemic.gg
- connect memento.epidemic.gg
- connect lostcoast.epidemic.gg
- connect infernonight.epidemic.gg
- connect cache.epidemic.gg
- connect sakura.epidemic.gg
- connect trade.epidemic.gg
- connect basalt.epidemic.gg
- connect palais.epidemic.gg
You’ll then be taken to the respective map – it doesn’t matter which one you choose really, but it’s nice to have some strong scenery while inspecting your CS2 sticker crafts. After you’ve connected, just paste the gen code you copied earlier into the in-game chat. This should look something like this:

Hit Enter, and you’ll have your CS2 sticker craft in your hands and ready to view immediately! It’s the perfect way to view and iterate on your ideas before you actually commit to a purchase. Sometimes, when you inspect skins in CS2, they don’t quite look how you expected them to look, so it’s always best to do this first. You might surprise yourself with some interesting combos!

One final tip for inspecting CS2 skins and sticker crafts: If you use different stickers on the same skin during one session, you might notice the stickers don’t change. Open your console and enter “regenerate_weapon_skins” and this problem will be solved.
You can do this to your heart’s content, so you don’t have to worry about hitting a limit when inspecting skins in CS2. If you’re a player who likes to get inventive with your crafts, then this is by far the best way to test sticker crafts in CS2 before actually making them in your inventory.
Now that you have your perfect craft, why not take some screenshots with the command “cl_drawhud 0” which removes the in-game HUD and gives you the best view of your weapon. I also recommend using “cl_lock_camera 1” as this allows you to move the skin closer to the screen and take some incredibly cinematic screenshots.