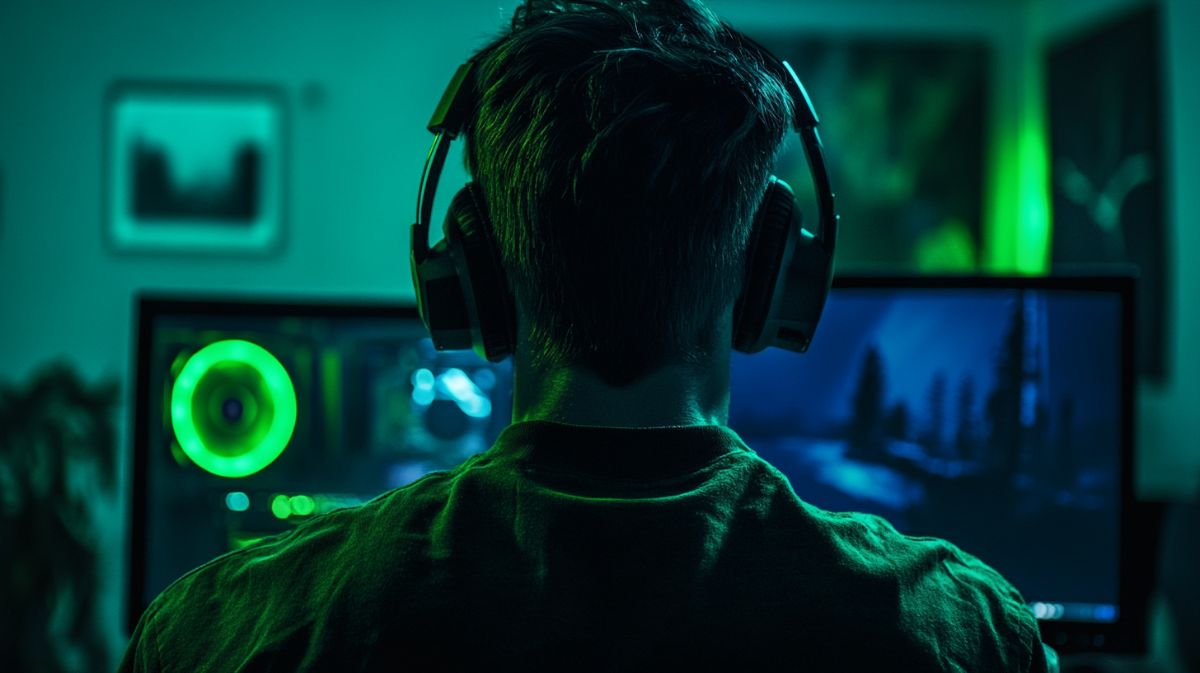
Streaming has become an increasingly popular way to share gaming content and connect with others online. Gamers have streamed their gameplay for years, and with the rise of platforms like Twitch and YouTube, it’s easier to share your gaming experiences. However, one of the biggest challenges is how to get started streaming with the best possible video quality. One way to do this is by learning how to use DSLR as a webcam.
In this article, we will discuss the benefits of using a DSLR camera as a webcam for streaming, specifically when using OBS Studio, as well as the steps involved in setting up a DSLR camera as a webcam. We’ll also be providing tips and tricks for optimizing the streaming experience, as well as troubleshooting common streaming issues, especially when it comes to gaming.

Equipment and Software
You’ll need a few critical pieces of equipment to use a DSLR camera as a webcam for streaming. The most important of these is, of course, a DSLR camera. Any DSLR camera will work, but some are better for streaming than others. Look for a camera with a high resolution and a sound autofocus system. Additionally, you’ll need a USB cable to connect the camera to your computer and software to capture the video from the camera and stream it online. One of the most popular software options for streaming is OBS Studio. Other streaming options include Sreamlabs, Xsplicaster, and CamTwist for iOS. This article will only focus on OBS studio, as it’s the most accessible and popular streaming software available.
OBS Studio is one of the most popular software options for streaming with a DSLR camera. This software is free, open-source, and easy to use. It allows you to capture video from your camera, add overlays and other effects, and stream to various platforms, including YouTube, Twitch, and Facebook.
Setting Up Your DSLR Camera
The first step in using a DSLR camera as a webcam for streaming with OBS Studio is to connect the camera to your computer using the USB cable. Once the camera is connected, you’ll need to change the camera’s settings to enable “live view” mode. Enabling this option will allow you to see what the camera is seeing on your computer screen.
Next, you’ll need to set up OBS Studio to capture the video from the camera. You’ll need to add a new source to OBS Studio by clicking on the “+” button in the sources section.
From there, you can select the camera as the source. Once the camera is added as a source, you can adjust the settings for the camera, such as resolution and frame rate.
Once everything is set up, you’ll want to test the connection to ensure everything is working correctly. Then, you can start a test stream and check the video quality. You’re ready to begin streaming if everything is working as it should.

© Esports.net
Streaming with Your DSLR Camera
Once you’ve set up your DSLR camera as a webcam, you’re ready to start streaming. The first step is to select a streaming platform. YouTube, Twitch, and Facebook are popular options with unique strengths and weaknesses. Once you’ve chosen a platform, you’ll need to create an account and set up your stream.
With OBS Studio, you’ll need to add a “streaming” source and enter the stream key for your selected platform.
Optimizing the Streaming Experience
When streaming with your DSLR camera, there are a few things you’ll want to keep in mind to ensure the best possible video quality.
- The first of these is lighting. Poor lighting can make the video appear dark and grainy, so you’ll want to ensure that you have enough light in the room to illuminate your gaming setup properly.
- Another essential factor to consider is the background of your video. A cluttered or distracting background can take away from the overall quality of the stream, so you’ll want to ensure that the background behind your gaming setup is clean and uncluttered.
- Finally, you’ll want to pay attention to the audio quality of your stream. A good microphone is essential for clear and crisp audio, and it’s also important to minimize background noise.
Read Also: How to make your Twitch stream look better
Troubleshooting Common Issues When Using DSLR as Webcam for Streaming
When streaming with your DSLR camera, you may encounter some common issues. One of the most common issues is that the video may appear choppy or slow. This is typically caused by a slow internet connection or a lack of available bandwidth. To resolve this issue, you’ll need to ensure that you have a strong internet connection and that your computer has enough processing power to handle the streaming.
Another common issue is that the video may appear too dark or too bright. This is often caused by poor lighting or incorrect camera settings. To resolve this issue, you’ll need to adjust the camera’s settings and ensure that you have enough light in the room.
Conclusion
Streaming with a DSLR camera as a webcam can significantly improve the quality of your video, making your content look and feel more professional. By following the steps outlined in this article, you’ll be able to easily set up your DSLR camera as a webcam, optimize your streaming experience, and troubleshoot common issues. Remember to consider the lighting, background, and audio quality, and always have a good internet connection. With a little bit of effort, you’ll be able to take your streaming to the next level and stand out among other prominent streamers.
That’s essentially our guide on how to use DSLR as a webcam.
Read Also: How to stream on Twitch and Youtube at the same time
FAQs on How to Use DSLR as Webcam
What equipment do I need to use my DSLR camera as a webcam for streaming?
You will need a DSLR camera, a USB cable to connect the camera to your computer, and software that can capture the video from the camera and stream it online. Some popular software options include OBS Studio, StreamLabs, and CamTwist.
How do I set up my DSLR camera as a webcam?
To set up your DSLR camera as a webcam, you will need to connect the camera to your computer using the USB cable. You must change the camera’s settings to enable “live view” mode. Then, set up the software you are using to capture the video and test the connection to ensure everything is working properly.