Best Apex Legends Nintendo Switch Settings

- Apex Legends on Switch needs extra tuning because lower performance and controller limitations affect aim, recoil, and responsiveness.
- Lower sensitivity paired with gyro aiming and small deadzones delivers smoother tracking and better recoil control.
- Prioritizing performance settings over visuals creates a more stable and competitive gameplay experience.
If you want the best Apex Legends Switch settings, it’ll take a bit more tuning than on other platforms. Nintendo players often experience lower frame rates and controller limitations, leading to inconsistent aim, unstable recoil, and difficulty tracking opponents.
This guide explains everything you need to know to optimize your controller settings, sensitivity, motion controls, and more for the Nintendo Switch, Switch Lite, and docked play.
- 1. Why Apex Legends Feels Different On Nintendo Switch
- 2. Does Apex Legends Work on Switch 2?
- 3. Best Controller Settings For Apex Legends On Switch
- Button Layout and Controls Explained
- 4. Best Apex Legends Switch Sensitivity Settings Explained
- Hipfire and ADS sensitivity
- Optic ADS Multipliers
- 5. Motion And Gyro Controls On Nintendo Switch
- How To Configure & Practice Motion Controls In Apex Legends
- 6. Apex Legends Aim Assist & Recoil Control On Switch
- 7. Best Apex Legends Switch Settings For Performance, Video & Audio
- 8. Switch Lite vs. Docked Mode Settings
- 9. FAQs
- 10. References
Why Apex Legends Feels Different On Nintendo Switch
Apex Legends feels different on Nintendo Switch because the hardware simply can’t keep up with what the game is designed to do.
Lower frame rates make aiming and tracking feel less responsive, visual downgrades reduce enemy clarity at range, and added input latency slows reactions in a game where milliseconds matter.
Additionally, Switch Joy-Con controllers are also prone to stick drift. This forces a higher deadzone, resulting in reduced accuracy. The controllers also have shorter stick travel, which means restricted movement in a game defined by that mechanic, compared to a player using a traditional controller.
The smaller screen of the Switch also negatively affects situational awareness, putting players at a disadvantage against opponents on other platforms. Since you cannot rely on the default settings, you must optimize your game with the best Apex Legends Nintendo Switch settings.
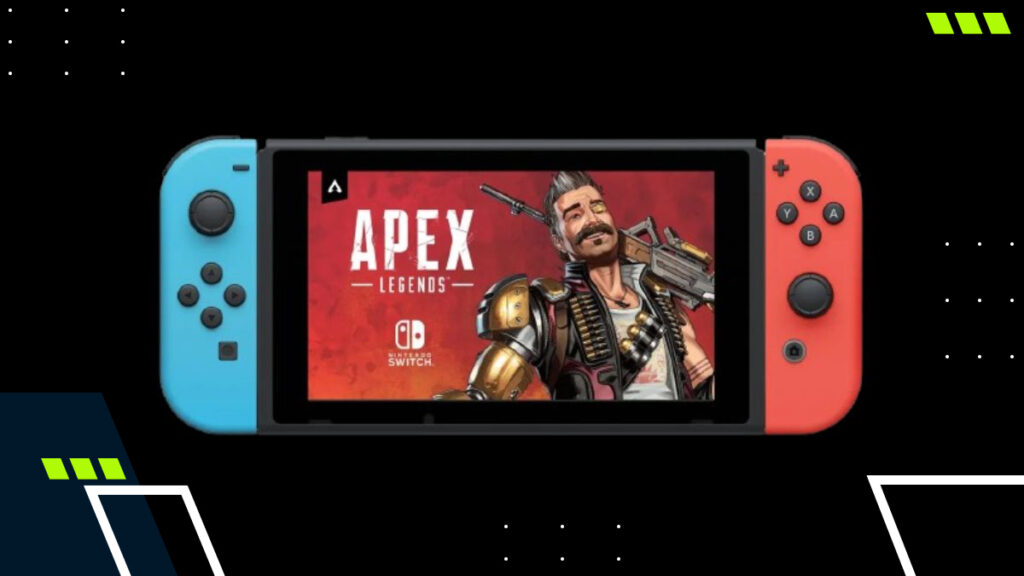
Does Apex Legends Work on Switch 2?
Yes, Apex Legends is playable on the Nintendo Switch 2.
That said, Respawn Entertainment recently announced that Season 29 will be the final Apex Legends update available on the original Nintendo Switch. After August 4, 2026, Apex Legends will no longer be playable on the Nintendo Switch system.
All progress connected to your EA account on the original Nintendo Switch will carry over to the Switch 2, if you decide to “switch” over to the newer handheld. This change is bound to result in a better gameplay experience, as the newer device offers more stable performance and better control over your sensitivity and gyro input.
Best Controller Settings For Apex Legends On Switch
Your Apex Legends controller directly impacts your aiming consistency, recoil control, and more.
For this reason, a Nintendo Switch Pro controller is highly recommended, as it offers greater freedom when moving the sticks and provides better deadzone behavior. While there isn’t a single “perfect setup,” the following settings will help to improve recoil control and minimize input delay across both handheld and docked modes.
Here’s a great starting point for your Apex Legends Switch controller settings:
| Setting | Switch 1 | Switch 2 |
|---|---|---|
| Button Layout | Default / Custom | Default / Custom |
| Stick Layout | Default | Default |
| Deadzone | Small | Small |
| Outer Threshold | None | None |
| Response Curve | Classic | Classic |
| Look Sensitivity | 4-5 | 5-6 |
| ADS Sensitivity | 3-4 | 4-5 |
| Vibration | Off | Off |
Button Layout and Controls Explained
While the default button layout works for most players, understanding custom Apex Legends Switch button layouts can help you be more efficient.
For example, you can rebind certain controls to buttons like the bumpers or change them to allow you to aim while performing other actions. However, remember to keep it simple.
Best Apex Legends Switch Sensitivity Settings Explained
Tweaking your Apex Legends Switch sensitivity impacts your aim, as vertical sensitivity determines recoil control while horizontal sensitivity keeps your tracking ability in check.
Having said that, vertical sensitivity should be set lower on the Switch to reduce visible stuttering. ADS sensitivity should also be set lower for greater precision, rather than hipfiring, which is faster but less accurate.
So, what are the best sensitivity settings for Apex Legends on Nintendo Switch? Let’s find out.
Hipfire and ADS sensitivity
| Setting | Switch 1 | Switch 2 |
|---|---|---|
| Look Sensitivity | 4-5 | 5-6 |
| Look Vertical Sensitivity | 3-4 | 4-5 |
| ADS Sensitivity | 3-4 | 4-5 |
| ADS Vertical Sensitivity | 2-3 | 3-4 |
Optic ADS Multipliers
| Optic | Switch 1 | Switch 2 |
|---|---|---|
| 1x / Iron Sights | 1 | 1 |
| 2x | 0.9 | 0.9 |
| 3x | 0.8 | 0.85 |
| 4x and higher | 0.7 | 0.75 |
Motion And Gyro Controls On Nintendo Switch
It can take time to adapt to motion controls in Apex Legends on Switch, but once you get used to them, they can be advantageous.
Gyro aiming boosts your accuracy by giving you control over the smallest of movements. Once mastered, these micro-adjustments result in smooth aiming and tracking. When paired with traditional stick input, many experienced Switch players use the gyro to achieve tighter recoil control and more consistent shots, especially in fast, close-range fights.
So, if you’re asking yourself, “Should I use gyro controls for Apex Legends on Switch?” the answer is yes.
How To Configure & Practice Motion Controls In Apex Legends
To enable motion controls, you’ll need to look under the “Controller” tab in Settings. From there, select a conservative baseline and gradually increase it to match your playstyle and aim. Turning the gyro all the way up immediately can be overwhelming and unstable, so take it slow.
| Setting | Switch 1 | Switch 2 |
|---|---|---|
| Motion Controls | On | On |
| Gyro Sensitivity | Low–Medium | Medium |
| ADS Gyro Sensitivity | Lower than the look sensitivity | Slightly Lower |
| Gyro Y Axis | Enabled | Enabled |
To make the stick input and gyro work together, start with the right stick, retaining it for aiming and camera movement. Apply gyro after this, gradually adjusting it. This is how you can experiment while keeping your aim and recoil control smooth.
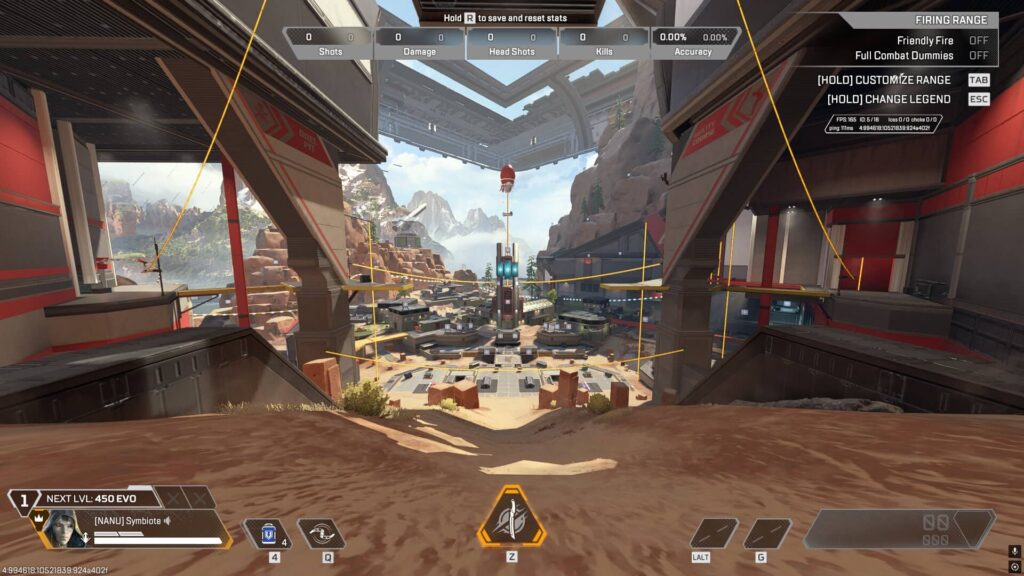
The Firing Range is the best way to practice and find the best gyro configuration possible. Use different weapons and focus on maintaining consistency with your recoil rather than going for flicks.
Apex Legends Aim Assist & Recoil Control On Switch
The Apex Legends Switch aim assist configuration is always enabled by default. However, performance limitations restrict the Switch, making it weaker than other consoles.
Even so, it does a fair job of assisting the player by slowing down their crosshair when it’s around an enemy. The recoil remains unchanged in this case and will still need to be controlled by the player.
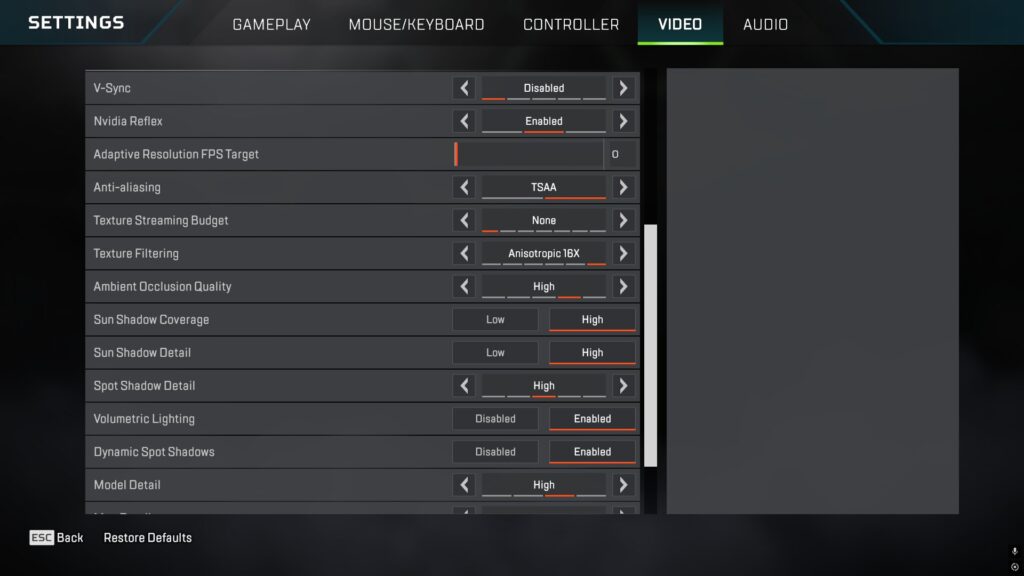
Best Apex Legends Switch Settings For Performance, Video & Audio
If you’re targeting performance optimization and input lag reduction for Apex Legends on the Switch, then you’ll need to prioritize that over image quality and visuals.
| Category | Setting | Recommended Value | Impact |
|---|---|---|---|
| Video/Performance | Field of View | Switch 1: 90-95 Switch 2: 95-100 | Lower value gives better performance, but Switch 2 handles higher FOV well. |
| Video | FOV Ability Scaling | Disabled | Changes in FOV during abilities can be disruptive. |
| Video | Sprint View Shake | Minimal | Camera motion while sprinting. Choose Minimal for visual clarity. |
| Video | Brightness | Default/50% | None. |
| Video | Damage Numbers | Stacking | Less screen clutter when dealing damage to hostile players. |
| Video | Performance Display | Enabled (personal preference) | Track performance metrics. |
| Video | V-Sync | Always On (locked) | Can’t disable. |
| Performance | Texture Quality | Locked | Can’t optimize manually. |
| Performance | Shadow Quality | Locked | Can’t tweak. |
| Performance | Anti-Aliasing | Locked | Can’t tweak. |
| Performance | Resolution Scaling | Locked | Dynamic Resolution by default. |
| Audio | Master Volume | 100% (personal preference) | Louder is better for footsteps and directional audio. |
| Audio | Sound Effects Volume | 100% (personal preference) | Louder is better for footsteps and directional audio. |
| Audio | Dialog Volume | 50% (personal preference) | Reduces unnecessary audio. |
| Audio | Music Volume | 0-20% (personal preference) | Reduces unnecessary audio. |
| Audio | Voice Chat Volume | Personal preference | Balance it out and communicate with squadmates. |
| Audio | Audio Output | Stereo | Stereo is the best for directional audio. Better than surround. |
| Audio | Subtitles | Personal preference | No performance impact, but may be distracting. |
Switch Lite vs. Docked Mode Settings
If you’re playing Apex Legends on a Nintendo Switch Lite, you’ll need to lower your ADS and hipfire sensitivity and rely on gyro. This is because the Lite is more compact than other Switch models and has tighter thumbstick limitations.
However, you can increase your sensitivity when playing docked, as performance is slightly better and gameplay feels smoother overall. A pro-style controller is also recommended for the Lite for improved comfort and precision.
FAQs
What are the best settings for Apex Legends on Nintendo Switch?
The best settings for Apex Legends on Nintendo Switch include a balanced sensitivity, low dead zones, enabled gyro, 90-100 FOV, and audio focused on footsteps and directional sound instead of music and dialogs.
How do you improve your aim on Apex Legends Switch?
Lower vertical sensitivity, combined with gyro controls, small dead zones, and regular practice in the Firing Range, will significantly improve your aim in Apex Legends on Switch.
Should you use motion controls in Apex Legends on Switch?
Yes, you should try out motion controls in Apex Legends on Switch, as it can provide greater accuracy.
What sensitivity should I use for Apex Legends on Nintendo Switch?
You can use 4–5 look or hipfire sensitivity and 3–4 ADS sensitivity on Switch 1. Slightly increasing this should suffice for the Switch 2.
Are Apex Legends Switch settings different from those on other consoles?
Yes, the Switch’s technical limitations make it important to tweak its settings separately.
References
- An Update on Nintendo Switch Support (Electronic Arts)