Every streamer needs to have a significant way to distinguish themselves from the crowd and the mentality that their viewers are not coming to view anyone else but only them. As an up-and-coming streamer, it would be best if you found a way to be unique while on the platform, and your streaming setup, personality, and talent can only take you so far on Twitch. This is why knowing how to add panels on Twitch, especially your profile, will help to bring attention to important information.

What are Twitch Panels?
Twitch panels are, in most cases, a rectangular design that fills your Twitch profile page with information about the stream, yourself, and more. It is a way to express your brand as a Twitch streamer while giving important information like Stream times, donation links, and socials.
These info panels offer more information about your streams, style and the overall personality of your channel. As a streamer, you can try to design it according to your overall brand, giving new viewers a feel of your personality.
Investing in a Twitch panel could also help make a large part of your streaming experience seamless and grow your streaming career.
What is the Use of a Twitch Panel?
A Twitch panel is also a call to action, in which you can insert links that lead to other content or community-based platforms like Discord. Another reason for adding a Twitch panel is to grab the attention of new viewers who are looking to connect with you or get more information on you. By adding your socials, schedule, and Discord, they can know when you come online and can talk to you if you do not. Viewers can also get updates from your socials and connect with you off stream.
Twitch panels can also help when tracking and communicating with the viewers watching your stream.
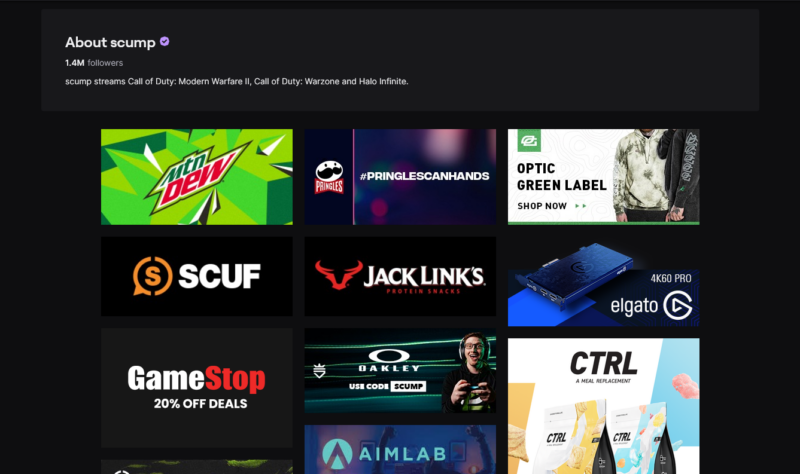
© scump. Some streamers will have dozens of panels on Twitch
How to Add a Twitch Panel to Your Profile Step-by-Step
To add a Twitch panel:
- First, you need to log into your Twitch account
- Then click on your avatar on the top right and click channel
- From the channel page, click the about buttons
- At the bottom of the screen, click the Edit panel.
- On a panel box, Click Add Image
- After that, drag the desired image you want to use as a panel.
- Add the description or text you want your panel to explain and the URL link you want the panel to link to. It could be your socials, Discord, Youtube, Instagram, or anything.
- Press the submit button, and you now know how to add panels on Twitch.

Best Sizes for Twitch Panels
Twitch has specific limits for Twitch panel designs, and this is to prevent people from abusing the Twitch panel and posting high-quality images. Still, this doesn’t mean you cannot post good, unique designs. Here, we’ll show you what sizes of Twitch panels are the best for your streaming.
The best Twitch panel size is ‘320 by 160’. This is not too noisy and annoying for users to look at. It is also aesthetically pleasing and draws viewers’ attention to it. You also have to keep your Twitch panel file size under 2.8 MB. This will make your page load faster for new viewers and keep the site running faster for people who load in.
Conclusion
Twitch allows you to customize your page, giving you a different vibe when a viewer loads into your page to watch you. You can use bright colours to grab attention and link your donations to these info panels to make donating smoother for your viewers. By doing all these and following other tips on how to grow your stream on Twitch, you will be able to rise to the top of your category.
Read Also: How to Start Streaming
FAQs on Adding Panels on Twitch
What is Twitch's official limit for Info panels?
Their official limit is under 1 MB, but you can stretch a bit above the limit. If your design is already too large, you will have to make a new design.
What is the official resolution limit for Twitch info panels?
320px width and 600 px high. If you have made a panel that is bigger than this, Twitch will automatically adjust it on its page for you, and this might make it look wonky.